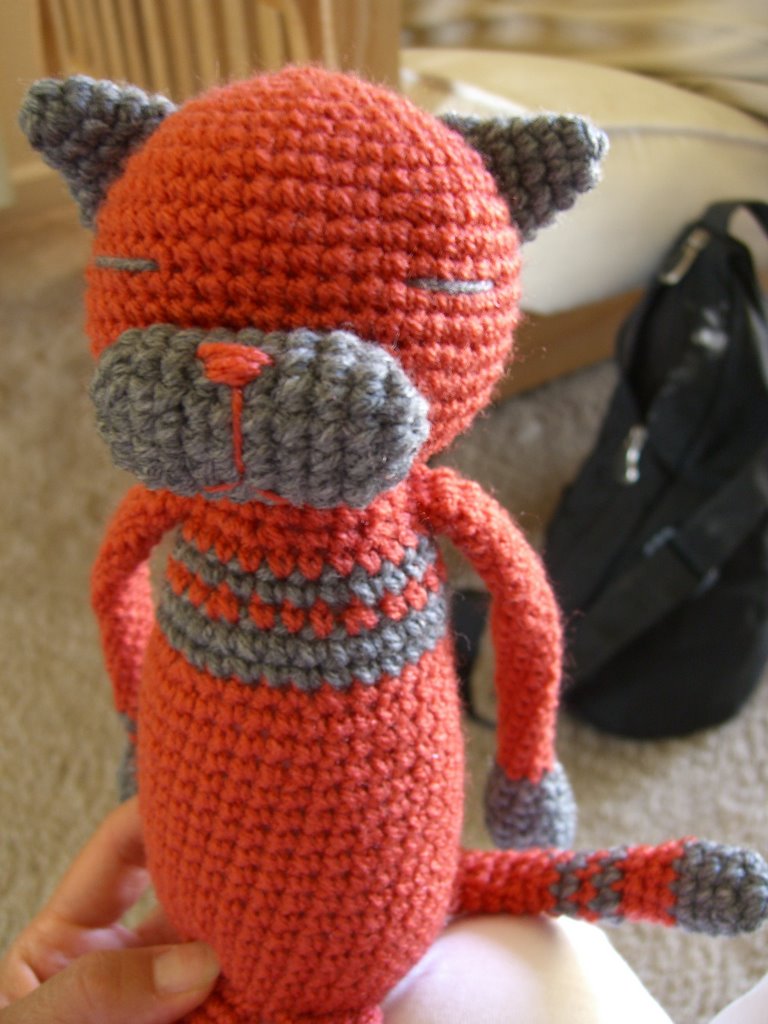
How many here remember my little doll "Nameless"? Show of hands?
*crickets*
Ok, I know it's been a long time. I'm ashamed to say that it's been since February that I've done anything with this doll. And I've posted so little since then that I believe you can still see the post we're talking about if you just scroll down a bit on the main page. *shaaaaaaame* (-_-)''
Some of you were even so nice to respond to that post with very cute names for my poor doll. It's only since yesterday that I've finally decided to name her:
Zoe Lily-Belle!
I'm not that crazy about the "Belle" part but somehow it just seemed to fit. So without further ado, here is the pattern that I wrote for her way back then (look at what healthy guilt trips can get ya!). I made it as a pdf document but as I don't have a place to share those types of files at the moment I'm just going to have to cram it all here on this post! woohoooooo!! *cram cram cram* It's all ugly now, too. It was so much prettier in pdf format. *sigh*
It would probably be best if you highlighted the whole thing and pasted it into some kind of word document. That way you can save it to your computer and print it out for writing on or cussing at or tearing up or... or...
Oh, and by the way, if you leave comments with questions be sure to leave some way for me to contact you! I sometimes try to answer them in the comment section or by writing a new entry, so check back. But give me some time. And if I NEVER answer ... well... then I just don't, do I? Sorry.(^-^)*
Exclusive Original AmigurumiGirl Pattern - Free Free Free Free Free Woot!
(I love the word "free"!)
DISCLAIMER: or maybe REMINDER: I suck at pattern writing. Please please keep this in mind as you do this pattern. There are mistakes. I've corrected some. And others are probably better left alone. Use this as a guideline and let your inner creativity lead the way. You'll be fine. Any little "mistakes" can be looked as your own added charm. Good luck!
PS- for further insight and notes on this pattern from a completely unbiased source please check out House Full of Monkeys. I think her post will help you a lot with this pattern.
Zoe Lily-Belle
 Materials:
Hook size D - 3.0mm
Tapestry needle
Black safety eyes (Darice Solid Black 12mm)
Yarn Color A – beige (“skin”)
Yarn Color B – leaf green (shirt)
Yarn Color C – chocolate brown (skirt and shoes)
Yarn Color D – white (underpants)
Yarn Color E – wine (hair)
Note: I used Red Heart Soft Yarn – medium worsted, Red Heart Sport in white, and a mystery double knit in beige for this project (sorry there was no label on the skein). Although next time I’d choose something much more light weight for the hair I think.
Embroidery thread – black
Embellishments – beads, ribbons, etc (although I didn’t use any this time around I have some ideas...)
Stitch notes:
Magic ring – this is a neat way to start crocheting in the round that offers a tight closed hole in the center. You can find a visual tutorial at PlanetJune . Lots of good stuff there in fact so be sure to go poke around!
Bobble Stitch – work 5 hdc into 1 sc (the number 5 is really “adjustable”. You can do less for a smaller nose or more for a really good sized honker. You can also use dc instead of hdc. Experiment to get the look you want.)
Hook the yarn through (in hair section) - by this I mean fold your piece of yarn in half. Stick your hook into one sc and out another. Hook the folded yarn and pull it through. Then reach through the loop you’ve created and pull through the ends of the yarn piece. Pull taught.
Beginning at the top of the head:
Using Color A
Start with magic ring of 6 sc (this is my preferred way to start working in rounds but you can use whatever way you’re comfortable with)
Rnd 1: 2sc in each sc (12)
Rnd 2: 1 sc in first sc, 2sc in next sc* repeat 6 times (18)
Rnd 3: 1 sc in each next 2 scs, 2sc in next sc * repeat 6 times (24)
Rnd 4: 1 sc in each next 3 scs, 2sc in next sc* repeat 6 times (30)
Rnd 5: 1 sc in each next 4 scs, 2sc in next sc* repeat 6 times (36)
Rnd 6: 1 sc in each next 5 scs, 2sc in next sc* repeat 6 times (42)
Rnd 7: 1 sc in each next 6 scs, 2sc in next sc* repeat 6 times (48)
Rnd 8-10: 1 sc in each sc – 3 rows even of 48 each
Rnd 11: 1 sc in each sc - somewhere (anywhere, really, but preferably not too close to the beginning or the end) in this round work one bobble stitch for a nose
Rnd 12: 1sc in each sc (48)
Rnd 13: 1 sc in each next 6 scs, 2sctog * repeat 6 times (42)
Rnd 14: 1 sc in each next 5 scs, 2sctog* repeat 6 times (36)
Rnd 15: 1 sc in each next 4 scs, 2sctog* repeat 6 times (30)
Rnd 16: 1 sc in each next 3 scs, 2sctog* repeat 6 times (24)
Rnd 17: 1 sc in each next 2 scs, 2sctog* repeat 6 times (18)
Rnd 18: 2 sctog* repeat 6 times (9) - originally I got 12 as the final count which I'm sure it should be but how it got there I can't remember... 1 sc, 2sctog repeat 6 times? prehaps.
Switch to Color B (optional: work one row of slip stitches – this is an uncounted row and purely to make the switch look neater. If you don’t want to do it you really don’t have to, but I do say it does lend a nice finished look to your work.) Here we are at the neck and the top of the shirt/dress.
Note:
Rnd 19 is worked behind the row of slip stitches into color A of Rnd 17
Rnd 19: 1 sc in next sc, 2 sc in next* repeat 6 times (18)
At this point you may want to stop and put the eyes in. Place them on Rnd 11 spaced evenly apart from the cluster you made for the nose. This would also be a good time to embroider in the eyelashes and eyebrows and/or any other facial features you’d like. Stuff the head firmly.
Rnd 20: 1 sc in each next 2 scs, 2sctog* repeat 6 times (24)
Rnd 21-24: 1 sc in each sc - 4 rows even of 24 each
Switch to Color C Work one row of slip stitches (optional again – see previous note). This begins the skirt.
Note:
Rnd 25 is worked behind the row of slip stitches into the front loops only of color B in row 24. We are working into the front loops only here because we are going to come back with Color D and work into the back loops later. Depending on your tension while you crochet this can be a bit tight, but it can be done! Persevere!
Skirt

Rnd 25: in front loops only work 1 sc in each next 3 scs, 2sc in next* repeat 6 times (30)
Rnd 26: 1 sc in each next 4 scs, 2sc in next sc* repeat 6 times (36)
Rnd 27: 1 sc in each sc (work more even rnds for a longer skirt if you like!)
Rnd 28: skirt edge – 1 slst in first sc, 1 slst, 1hdc, 1 slst in next sc, 1 slst in next sc* repeat to end.
BO weave in end.
Switch to Color D
Going back to Rnd 24 into the back loops work 1 sc in each sc (30)
Rnd 25a: 1 sc in each sc (30)
Rnd 26a-27a: see note
26a: 1 sc in each (15)
27a: 1 sc in each (15)
Work a round of slip stitch. Switch to Color A.
Note: you need to eyeball things here. You are going to work sc until you get to the middle front of your doll. At this point you are going to put your hook through two scs at one time; the one you are on and counting to 15 stitches after that, therefore pinching the front and back together in the center with one sc. You should now have two “circles” of 15 sc each (hello leg!). Continue working 1 sc in each around then work one row of slip stitches. This is one leg of the shorts/underpants. Make a super long tail and pull it through that center sc you made earlier. You can use this tail to finish the other side of the pants later. Or, if you prefer, you can BO and pick up new yarn later on. Confused yet? Whew.
Legs
Rnd 28a: with Color A work in round 27a behind slip stitch row. 1 sc in each (15)
Rnd 29a-33a: 1 sc in each – 5 even rows of 15
Bind off.
Pick up Color D at Rnd 26a work 2 even rounds of 15 each. Work an uncounted round of slip stitches and proceed with leg 2 as done for leg 1. Bind off.
Shoes
Using Color C
Start with magic ring of 5 sc
Rnd 1: 2sc in each sc (10)
Rnd 2: 1 sc in first sc, 2 sc in next sc* repeat 5 times (15)
Rnd 3: ch 2 (counts as first hdc), skip one sc, 1 hdc in each sc after that, join last hdc to ch 2 with slst
Rnd 4: 1 sc in each hdc (15)
Rnd 5: 1 sc in each sc (15)
Bind off leaving a looooong tail for whip stitching shoe to leg.
Stuff the leg firmly. Stuff the shoe a little bit - just enough that you can still handle stitching the pieces together. You can stuff the leg/shoe more after you’ve stitched the shoe on part way. And then after stuffing to your satisfaction, finish attaching the shoe.
Attaching the shoe: whip stitch shoe to leg. Then wind the remaining length around the joining edge twice. On the first pass I stitch the yarn in at the half way pt, just for some stabilizing, then continue around to finish that round. On completion of the second round simply stitch the end in securely.
Arm (MAKE 2)
Start with magic ring of 5 ch or however you like to start your spiral/circular shape using 5 ch
Row 2: 2sc in each ch (10)
Row 3: 2sc in first ch, 1 sc in next* five times (15)
Row 4-6: sc in each (in the first sc on row 5 make a cluster – this is the “thumb”. I used a 5sc cluster I think. experiment to your liking)
Row 7: 1 sc in next 3, sc2tog in next* repeat three times (12)
Row 8: sc in each
Row 9: sc in next 5, sc2tog in next sc* repeat (10)
Row 10-11: sc in each
Row 12: switch to shirt color and sc in each.
Bind off leaving long tail for attaching to body.
Note:You can attach the arms whenever you’re ready. I did mine at the end. Whip stitch them to the first row of the shirt, placing them as you see fit. ;) When attaching them, just make sure the thumbs are facing the “right” way; facing forward if you wish for her to seem relaxed with palms toward her sides.
Hair
Making a hair cap...
Same process as making the head, just stop halfway. Since I used a yarn that was a little heavier for the hair than what I used to the head itself, my figures might seem ... strange. If you’re using the same yarn throughout the project then your cap should be “bigger” than your head. You’ll see here my numbers seem to stop at a smaller point, but it works for me because of the yarn and change in hook size.
Using hook size E - 3.5mm
Start with magic ring of 6 sc
Rnd 1: 2sc in each sc (12)
Rnd 2: 1 sc in first sc, 2sc in next sc* repeat 6 times (18)
Rnd 3: 1 sc in each next 2 scs, 2sc in next sc * repeat 6 times (24)
Rnd 4: 1 sc in each next 3 scs, 2sc in next sc* repeat 6 times (30)
Rnd 5: 1 sc in each next 4 scs, 2sc in next sc* repeat 6 times (36)
Rnd 6-7: work even rounds 36 each round
Bind off leaving long tail for attaching to head.
Place the cap on the head at a tilt with the back edge dipping down closer to the neck line. Once it’s positioned as you like attach it lightly to the head. Now comes the fun part. Cut equal lengths of yarn, I did about 5 inches (I think??). Cut a lot. Depending on the style you’re going to do this number will vary. Now simply hook the yarn through scs throughout the cap. You don’t have to hook through every sc. I did about two scs apart and staggered. At the top of the head you’ll have to experiment and see what works best; thinking about how real hair grows. After all the yarn you want is put in, style it!
Creator’s Notes:
Well, I hope this was decipherable. If you use it as a loose guideline and let your own creative juices flow, I’m sure you’ll have success and an original doll of your own! Remember to just have fun!
In retrospect I should’ve taken more in-progress photos. I’m sure a lot of my directions are mind boggling. (@_@)’
I’m happy if you make these dolls for gift giving or sharing with friends. However, I ask that you please do not duplicate this pattern or make the dolls to sell for personal profit. If you are interested in using it for charity or some special event, I’d love to hear about it. Please contact me at amigurumigirl@gmail.com and I’ll try my best to help. (^_^) Thank you! *whew*

 From what I understand it's a lesson based crochet along partnered with Lion Brand Yarns. The first lesson is next week, Sept 7. Follow this link to Craftzine for more information! Of course, there will be a Flickr group for sharing and discussion. Gosh, how fun! Be sure to help spread the word. I can't wait to see all the finished panda cuties!

 Here he is colored in photoshop and made into a dorky wallpaper for my desktop. hee
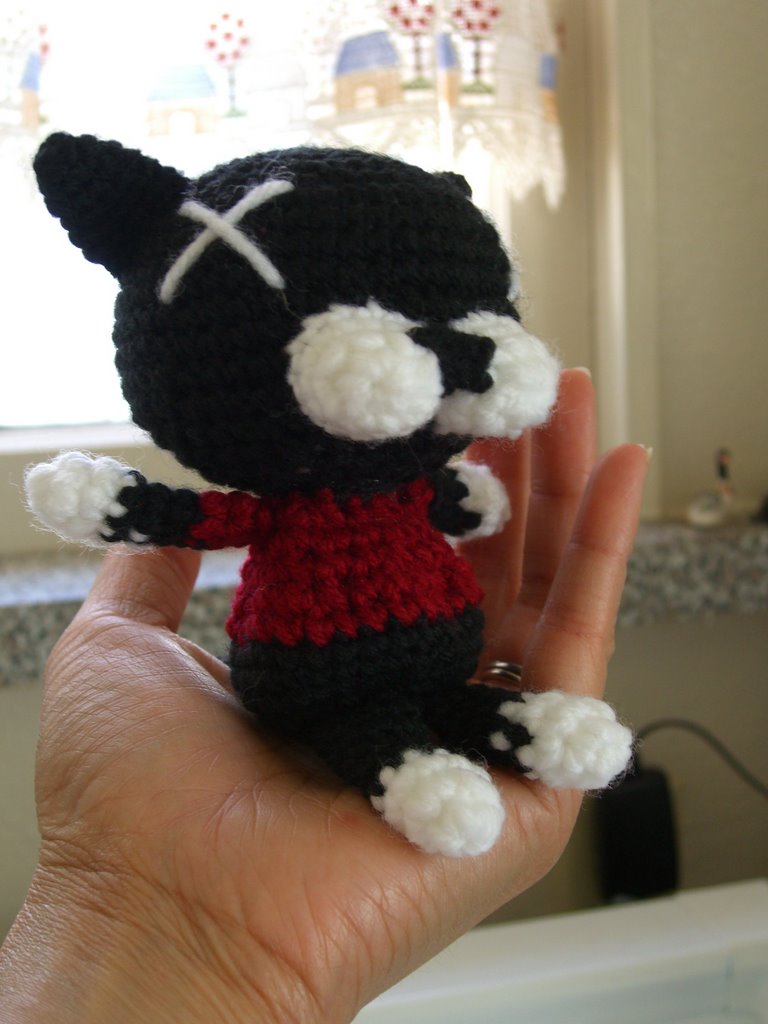
 In Amigurumi news... here’s a little guy I started yesterday. No plans. No direction. I just wanted to feel the calming rhythm of hook and yarn being stitched into something. ANYTHING. This so far. It has green cat eyes I bought online eons ago, but I’m not sure I really intend for it to become a cat. We’ll see.
 I also made this crocheted flower with beads for a hair tie. Woot. The yarn is cotton. I've not done much with cotton before but I'm thinking I want to do lots more.
 I hope you’re all doing well out there. Live long and prosper. (Yes I saw the


 Anyway, I hope to be done soon. I'm actually a lot further along than this photo suggests. (^_^)v
 He's ready for a little trip in the cold with his removable pompom topped beanie and matching top.
  The top is not removable, however you can lift it and see that he has on some whitie tighties which accomodate his tail nicely in the back. heehee He was too shy to let me take pictures to show you, sorry.


 She's 9 inches tall. I used Bernat Satin Sport (beige), Red Heart Sport (white), and some pinkish purplish eyelash yarn who's label was lost eons ago - sorry. You have to understand, I get a lot of hand me down yarns and they don't always come in full skeins nor with lables. Hey, beggars can't be choosers. Hook size I used Clover 3.0mm (D). I think for the "hair" I actually used a larger hook... like the 3.5.

 She even has ears...


 SURPRISE! FREE PATTERN

 Steps 3 and 4 (keeping that middle finger holding down that loop you then yarn over and hook through as the usual sc. Diagram 4 is a picture of the back of your work) - voila!
  So in this case, your "wrong" side of your work will be the presented side. yay!


001.jpg)
001.jpg)
001.jpg)
001.jpg)
.JPG)