I've been wondering how to get my blog out there so more people can see it and this morning I decided to join one of my favorite links: Amigurumi-Along (see side bar). It's a blog pretty much like this one but with many members contributing to the site. Fun! And already within a couple hours I have my first non-relation/friend visitor! Yay! hahahaha She/he even left a comment. I was so happy!! (thank you cagrrl. you made my day!) (*o*) However, then I realized - because the comment had a question - how do I reply to the comment directly? Other than leaving my own comment in hopes the person will check back... I haven't a clue. (^_^)' Seeing how the question was something everyone might want to know anyway I decided to answer here this time.
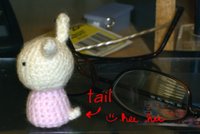
cagrrl asks in comment to my pup: "you chose the right type of yarn that made him look so cuddly....would it work for the cats??????"
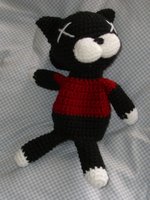
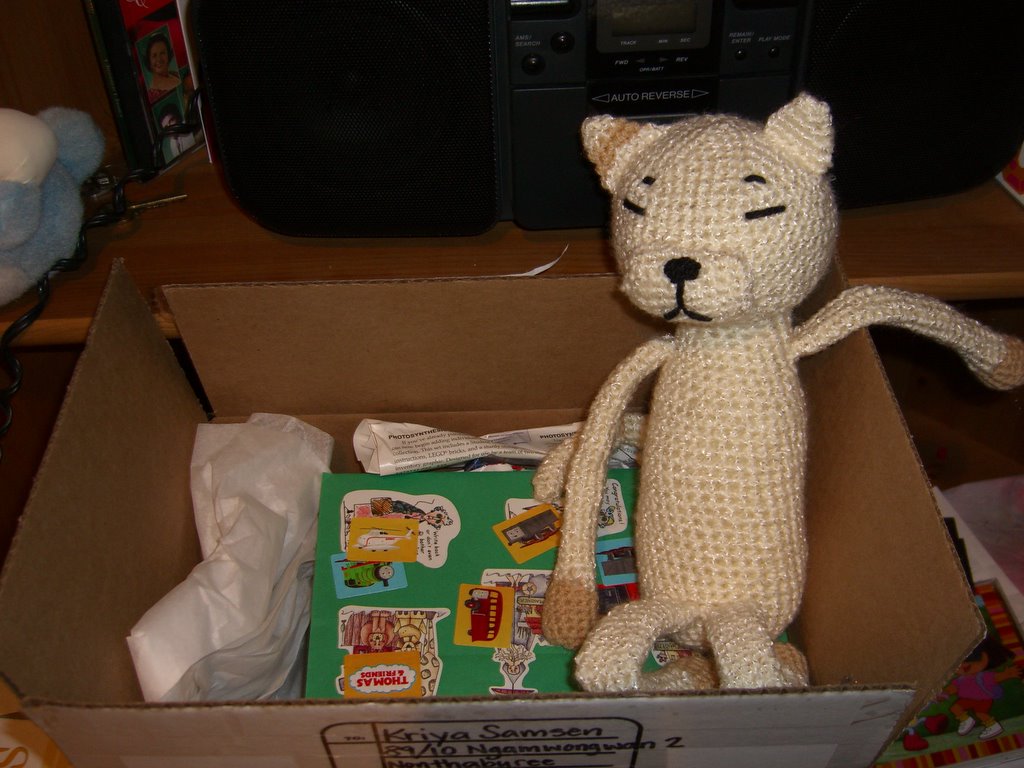
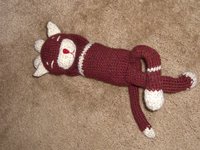
Yes! It was wonderful on the cat! If you go to the very first entry of this blog (archive Jan 2006 - Jan 14) you should see a picture of a white cat reposing. He is made from the same baby boucle as the pup. And it is very cuddly. I used hook size G. I haven't tried using a smaller hook size to get a smaller end product with the boucle. Instead, for the pup, I just adjusted my pattern. Hm.
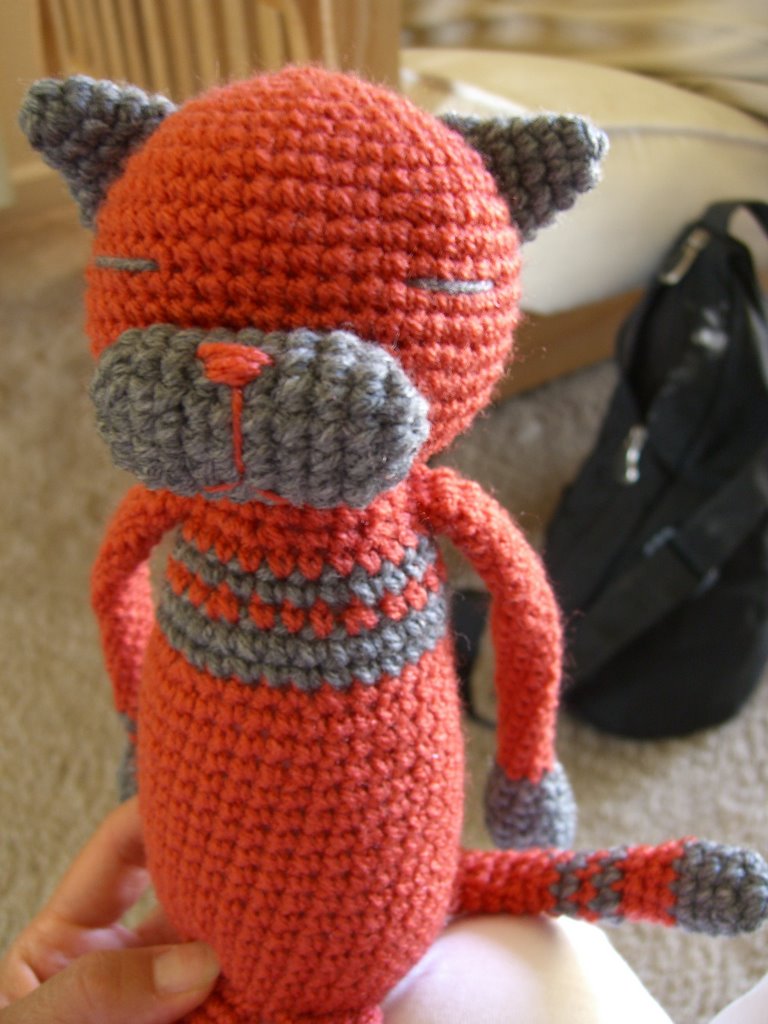
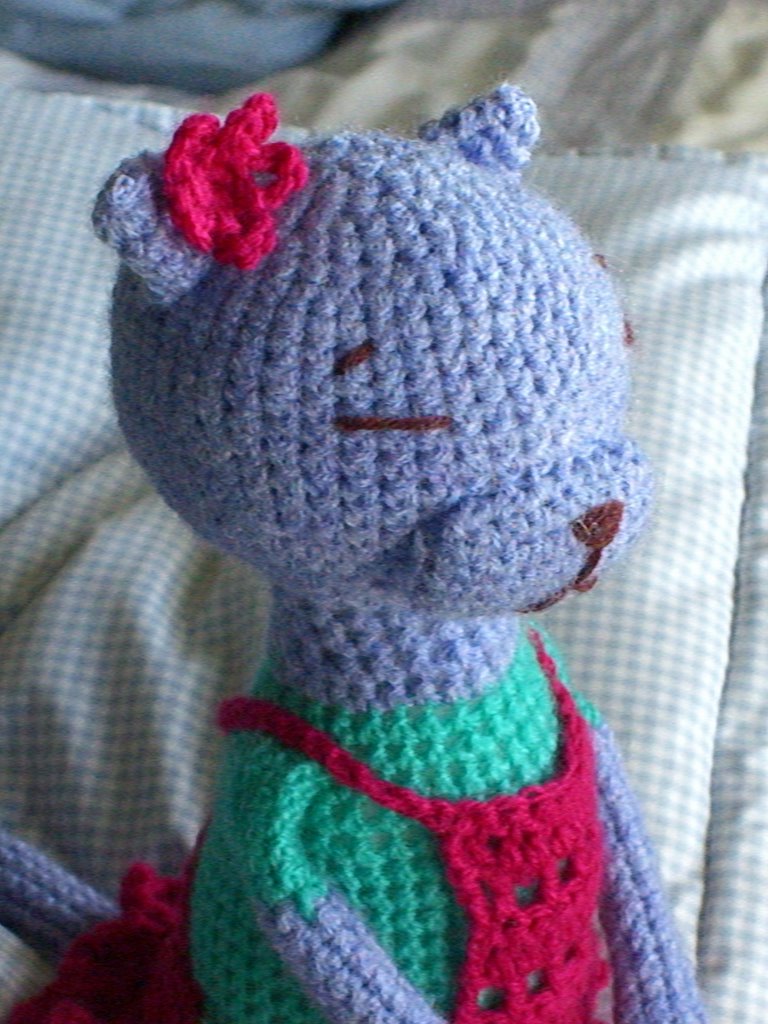
In comparison I used a double knitting yarn for Mr. Frog and certainly it would work for the cats as well... however, because it is a very soft yarn it won't hold the poses very well if the cat is too big (personal experience note: the bright pink cat with purple silk flower is DK yarn and is now very floppy especially in the neck area. haha). Soooo if you plan on making a smaller cat, double knitting is fine. But I found the larger cats need yarn that is... not really stiffer but, thicker I guess? I found Lion Brand's Wool Ease very pleasing. Worsted weight is a little too stiff for me I think while I'm working with it, but the end result is very good for the cats (see pink twins).You know, I'm so new at this too, so don't take my word for it. It just takes a lot of experimentation to find what you like. In the end, it's all about personal preference anyway. Don't forget to experiment with hook size as well! So many possibilities...
Thanks to everyone who has come by for a peek and all the encouragment (^_^)v Don't forget to check out my Flickr album where there are a few more photos of these cuddly guys. Just click on the flashy thing in the side bar there. hee Have a great day!


.jpg)
.jpg)
.jpg)
 A couple more photos can be found at
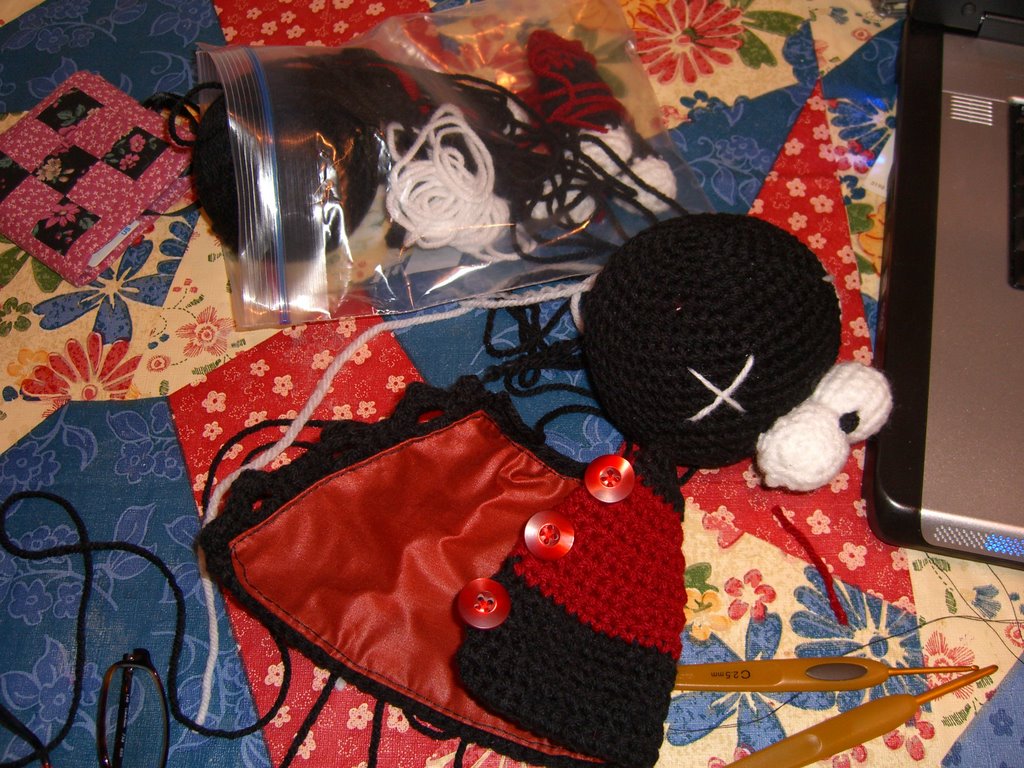
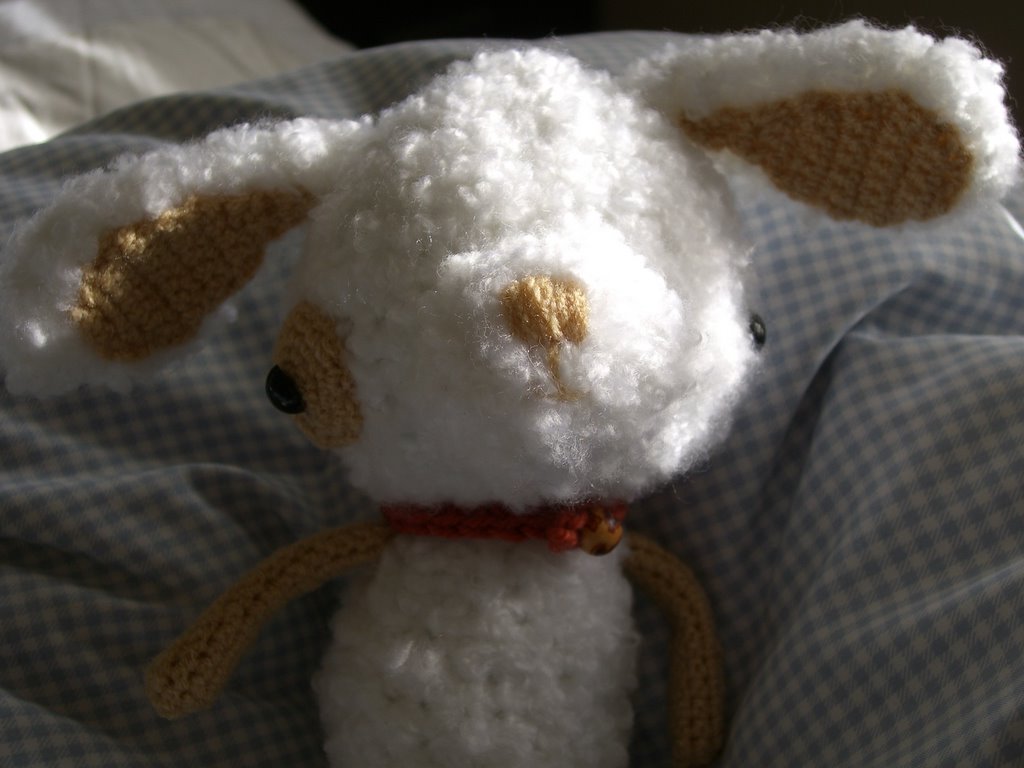
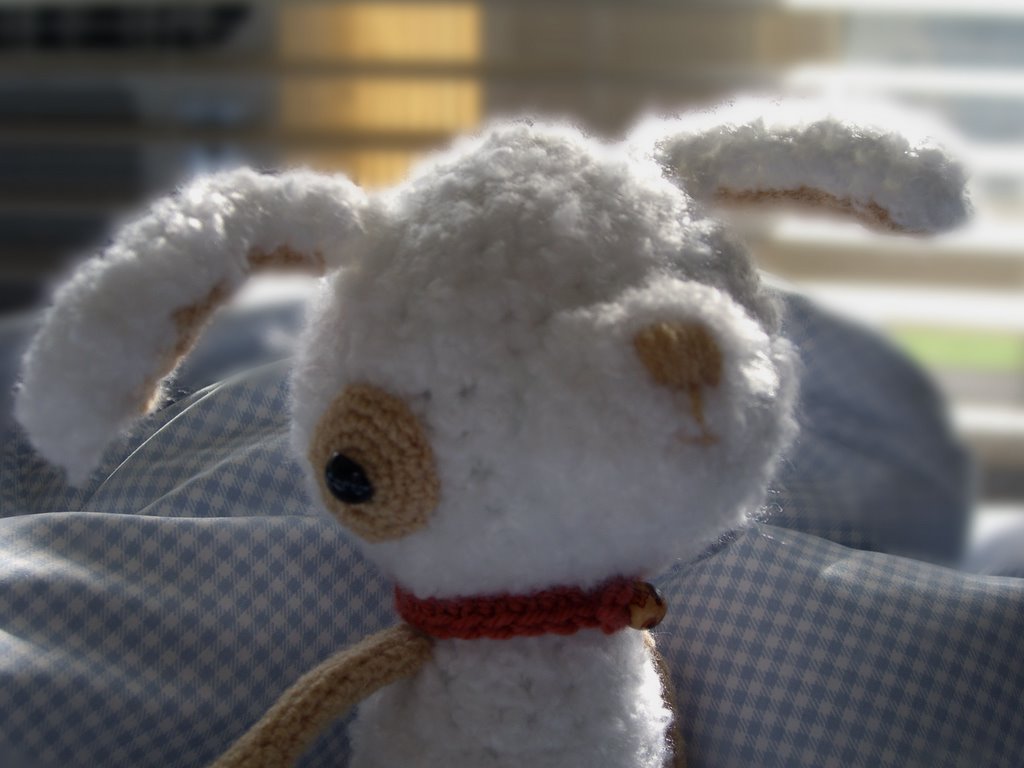
 Ah, the pups are finally totally completed. Woohoo! I finished them on Monday actually but I've been waiting for some nice weather to take photos outside. It's nice today but still drenched out so in the end I decided I couldn't wait to post any longer - photo shoot on the couch! These pups are made with white baby boucle and beige/tan double knitting/sport weight yarn. They have plastic button eyes and are filled only with poly-fill. Unfortunately they can't really stand or sit on their own. Maybe the next time around I'll pay more attention to that during the design phase. Their clothes are made from cotton scraps. Both vest and dress were inspired by the pattern at
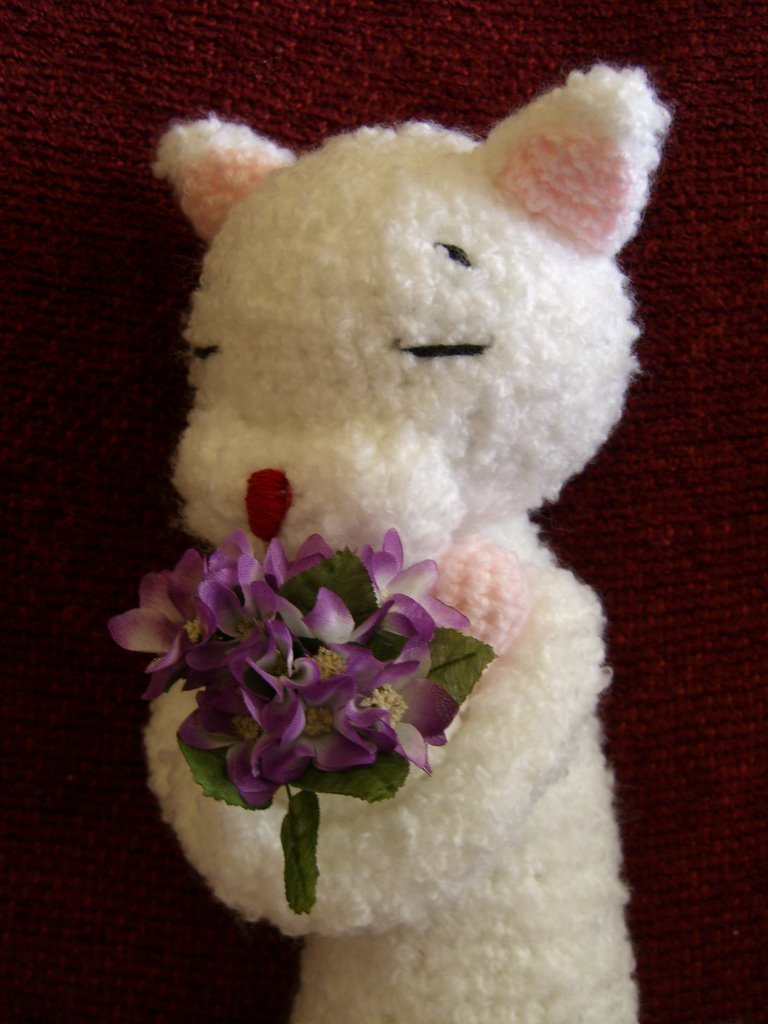
.0.jpg)

.jpg)
.0.jpg)
.jpg)
.jpg)


.jpg)
.jpg)
.jpg)
.jpg)
.jpg)
.jpg)
.jpg)
.0.jpg)
.jpg)
.jpg)
.0.jpg)
.jpg)
.0.jpg)
.jpg)
.jpg)
.1.jpg)
.0.jpg)